Clinical Centrifuge: Details need know before purchase
Clinical Centrifuge
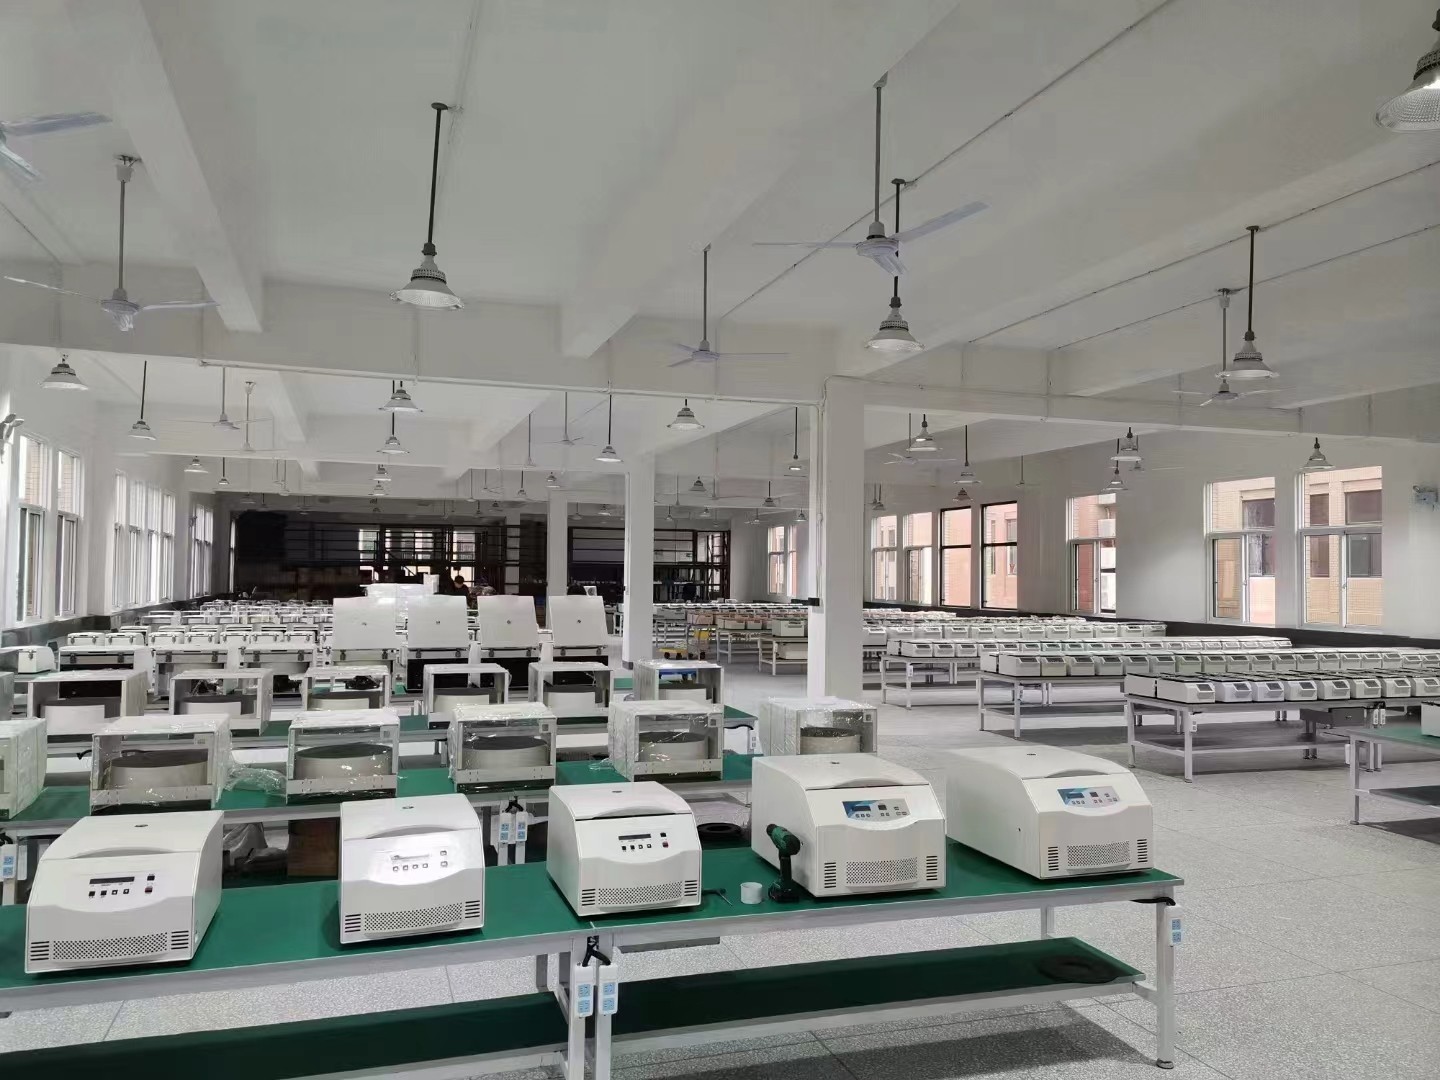
A Clinical centrifuge is a device that operates by utilizing the centrifugal force generated by the rotating rotor to accelerate the sedimentation of particles within a sample, thereby separating substances with different sedimentation coefficients or buoyant densities. It used in hospital laboratories, clinical departments, and for blood centrifugation.
Applications
Clinical centrifuges are commonly used in hospital laboratories, clinical departments, and for blood centrifugation. Clinical centrifuge help doctors in making more precise diagnoses and treatments. For example, after blood centrifugation, the upper layer consists of serum, and the lower layer consists of blood cells. Analyzing the components and properties of the serum and blood cells can assist doctors in diagnosing a patient's condition.
Additionally, centrifugation can be used to prepare biologically active substances such as immunoglobulins, cytokines, and antibodies, providing support for clinical treatments.
Moreover, clinical centrifuges can be used to assess the efficacy and safety of drugs. For example, after culturing drugs with tumor cells and then performing centrifugation, the survival rate and apoptosis of the tumor cells can be observed, which helps evaluate the drug's anti-tumor effects. Similarly, also can be used to detect the toxicity and side effects of drugs, providing support for new drug development.
Types of Clinical Centrifuges:
Clinical centrifuges can be categorized based on several factors:
Temperature Control | 1. Refrigerated Centrifuges 2. Non-Refrigerated Centrifuges |
Capacity | 1. Standard Capacity Centrifuges 2. Large Capacity Centrifuges |
Speed | 1. High-Speed Medical Centrifuges 2. Low-Speed Medical Centrifuges |
Size | 1. Floor-Standing Centrifuges 2. Benchtop Centrifuges 3. Handheld Centrifuges |
Selection of Clinical Centrifuges
When selecting a clinical centrifuge, we should consider the following factors:
Whether it is for analytical centrifugation or preparative centrifugation;
The size of the sample to be separated;
The capacity required for sample separation;
The temperature requirements for the sample.
Based on these factors, you can determine whether to purchase an analytical centrifuge or a preparative centrifuge; whether the preparative centrifuge should be low-speed, high-speed, or ultracentrifuge; whether it should be a large-capacity, standard-capacity, or micro-capacity centrifuge; and whether it should be a regular-temperature or refrigerated laboratory centrifuge.
Once the model is determined, the next consideration should be to choose the centrifuge manufacturer and price.
Benchtop Low Speed Large Capacity Centrifuge TD6

Calibration of Clinical Centrifuges
During the operation of a centrifuge, the most critical parameters are speed and centrifugal force. Additionally, some centrifuges have a refrigeration function to perform centrifugation at low temperatures, making temperature another important parameter.
If the speed and centrifugal force of a clinical centrifuge deviate from their intended values, it may result in incomplete separation of biological samples, thereby affecting test results. Therefore, calibrating the relevant parameters of a medical centrifuge is crucial to ensure its safety and accuracy.
Calibration Contents
Environmental Conditions
Temperature: 10°C~30°C (for refrigerated models), 5°~C40°C (for non-refrigerated models)
Relative Humidity: ≤80%
Surrounding Environment: Free of conductive dust, explosive gases, and corrosive gases
Calibration Standards
Non-contact Tachometer: Measuring range (100~30,000) r/min, accuracy class 0.1
Thermometer: Measuring range (0~50)°C, maximum allowable error ±0.5°C
Stopwatch: Resolution of 1 second, maximum allowable error ±0.5s/day
Calibration Items
Appearance Inspection
Centrifuge Nameplate: Should display the name, model, serial number, manufacturer, production date, etc.
The centrifuge surface should be clean and smooth, without visible scratches, burrs, or irregularities, and the text and symbols should be clear.
Control buttons, knobs, or keys should be responsive and operational. The rotor assembly should be securely installed, with no signs of corrosion, grooves, or fine cracks.
The centrifuge should be powered on and preheated before calibration.
Relative Speed Deviation
Speed calibration points should be determined based on the actual usage range of the centrifuge, with calibration points typically including the highest and lowest speeds, with at least three calibration points. The centrifuge should be equipped with the appropriate rotor and centrifuge tubes and adjusted to the corresponding speeds under full load conditions. After the speed stabilizes for 5 minutes, the actual speed should be measured with a tachometer three times, with the average value taken.
Speed Stability
Before calibration, confirm that the centrifuge is using the correct rotor and centrifuge tubes, and that both are within their service life. Under full load conditions, set the centrifuge to its maximum speed. Once the speed reaches the set calibration point and stabilizes, measure the speed with a tachometer every 5 minutes, taking five measurements in total. (Speed stability should not exceed ±1.0%.)
Timing Relative Error
Under no-load conditions, with set values of 5 minutes and 60 minutes or the maximum time, measure with a stopwatch and calculate the relative deviation between the measured value and the set value. (The relative deviation for digital timing devices should be within ±1%; for mechanical timing devices, it should be within ±5%.)
Refrigerated Centrifuge Cooling Effect
Cooling Effect: Before calibration, confirm that the centrifuge is using the correct rotor and centrifuge tubes, and that both are within their service life. Under full load conditions, set the centrifuge to its maximum speed, and place the thermometer probe at the center of the bottom of the centrifuge's cooling chamber, ensuring it does not contact the rotor. (Under normal working conditions and without pre-cooling, the minimum temperature in the centrifuge chamber at maximum speed and corresponding maximum load should reach 4°C.)
Cooling Time: Start the centrifuge and the refrigeration system simultaneously, and use a stopwatch to measure the time required for the chamber temperature to drop to 4°C. (Under normal working conditions, the time for the centrifuge chamber temperature to drop from ambient temperature to 4°C should not exceed 20 minutes.)
Temperature Deviation: Set the temperature to 5°C, 10°C, and 15°C, respectively. Once the temperature display reaches the set value and stabilizes, begin reading the thermometer value every 5 minutes, taking five readings per setting. Calculate the temperature deviation. (Under normal working conditions, when the centrifuge chamber temperature is controlled between 5°C and 15°C, the temperature deviation should not exceed ±2°C.)
How to Use Clinical Centrifuges
Placement of the Centrifuge: The centrifuge should be placed on a sturdy and flat surface. The rubber base must firmly adhere to the workbench during operation to prevent vibrations.
Regular Inspection: Frequently check the centrifuge tube sleeves, and promptly remove any foreign objects, dust, or rubber mats to maintain balance. Use a clean cloth to wipe the centrifuge chamber, ensuring it remains clean and free of debris.
Commutator and Brush Maintenance: Regularly inspect the wear on the commutator and brushes. Remove any dirt from the commutator surface to extend the life of the brushes. Replace damaged components (such as brushes or springs) promptly to keep the centrifuge in good working condition.
Sample Placement: Ensure that test tubes or samples are placed symmetrically within the centrifuge.
Lid Handling: When opening or closing the centrifuge lid, hold it gently with your hand and operate it slowly. Avoid slamming or hitting the lid forcefully, as shown in the figure below.
After-Use Cleaning: After use, remove the rotor and clean it with water or a mild detergent. Do not use alkaline solutions or solvents that could corrode the material. If the centrifuge has a refrigeration function, wipe off any water droplets or frost around the edges if there is a drainage hole. If there is no drainage hole, remove the rotor to clean up any accumulated water.
Steps for Removing the Rotor:
Use a specialized rotor removal tool to turn the locking screw counterclockwise (do not remove it entirely).
Grasp the rotor with both hands and lift it straight up without shaking it from side to side.
If using a swing-out rotor, remove the centrifuge containers (such as centrifuge cups) first.
Tube Condition: If the centrifuge tubes show any signs of discoloration, deformation, or leakage, stop using them immediately and replace them.
High-Temperature Sterilization: When sterilizing centrifuge tubes at high temperatures, do not tighten the caps to avoid tube deformation.
Condenser Cleaning: Regularly clean the condenser to prevent heat transfer obstruction.
Rotor Inspection: Check the rotor for corrosion or damage. If any is found, contact the manufacturer and replace it before further use.
Safety Precautions: Do not use the centrifuge to separate flammable, explosive, or strong acid/base liquids. Avoid leaning on the centrifuge during operation.
Regular Calibration: Ensure that the centrifuge is regularly calibrated to maintain proper operation and speed stability. The calibration interval should not exceed 12 months.
Clinical Centrifuge Technology Development
Clinical centrifuges now feature microcomputer control systems that ensure safe operation and automatically complete tasks. Many centrifuges are equipped with user-friendly control systems, such as rotor recognition, safety lock functions, fault indication, and acceleration/deceleration curves. These features reduce the risk of human error and protect the centrifuge from damage.
Hot selling centrifuges you may interested in
